How to run the Visualization Platform installation program
1 Download the self-extracting executable file, BIRTiHubVisualization-ihub3.exe, from the software distribution site.
2 Run BIRTiHubVisualization-ihub3.exe. The Installer Language message appears. Select a language or accept the default language, English. Then, choose OK.
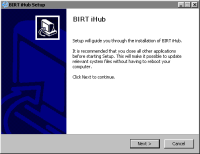
3 BIRT iHub Setup appears, as shown in Figure 2‑9. Choose Next.
Figure 2‑9 Viewing BIRT iHub Setup
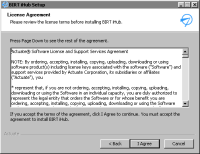
4 In License Agreement, choose I Agree, as shown in Figure 2‑10. Choose Next.
Figure 2‑10 Agreeing to license terms for BIRT iHub
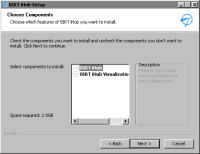
5 In Choose Components, accept the default set of BIRT iHub components to install, as shown in Figure 2‑11. Then, choose Next.
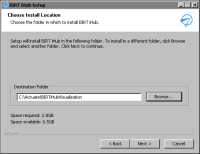
6 In Choose Install Location, in Destination Folder, accept the default path or choose Browse to specify a new destination folder in which to install BIRT iHub, such as C:\Actuate\BIRTiHubVisualization, as shown in Figure 2‑12. Choose Next.
Figure 2‑12 Choosing the BIRT iHub installation folder
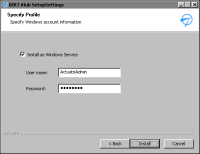
7 In Specify Profile, specify the Windows account information, including User name and password, and select whether to install BIRT iHub as a Windows service, as shown in Figure 2‑13. Choose Next.
Figure 2‑13 Specifying Windows account information for BIRT iHub
If you select installation as a Windows service, the installer checks whether the account specified has the Log on as a Service privilege. If the account does not have the privilege, a message appears. Choose OK. Perform the steps described in How to configure the log on as a service privilege. Then, choose Install.
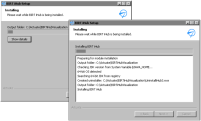
Installing appears, showing the status of the BIRT iHub installation process, as shown in Figure 2‑14. Choose Show Details to see more information about the BIRT iHub installation operations.
Figure 2‑14 Viewing the BIRT iHub installation process
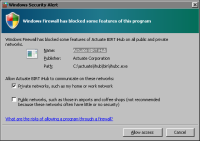
8 If a Windows Security Alert appears indicating that the firewall is blocking access to Actuate BIRT iHub or one of its related programs, perform the following tasks:
1 In Allow Actuate BIRT iHub to communicate on these networks, for example, select Private networks, such as my home or work network. Then, choose Allow access, as shown in Figure 2‑15.
Figure 2‑15 Allowing firewall access to Actuate BIRT iHub
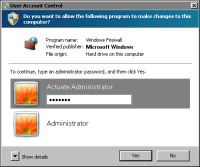
2 In User Account Control, type an Administrator account password, as shown in Figure 2‑16.
Figure 2‑16 Entering an administrator account password
3 Repeat this step for other Windows Security Alerts, such as PostgreSQL Server or Java Platform SE binary, if prompted to do so.
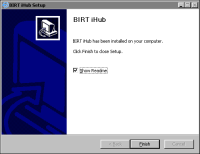
9 With Show Readme selected, choose Finish to close BIRT iHub Setup, as shown in Figure 2‑17. Alternatively, deselect Show Readme to not open the readme.txt file.
Figure 2‑17 Choosing Finish to close BIRT iHub setup
10 With Show Readme selected, the readme.txt file opens in Notepad. This file states that BIRT iHub installed successfully and a shortcut to the product is on the Desktop and in Windows Start menu. A shortcut to BIRT iHub Visualization Platform appears on the desktop.